
Pixaflux
Attributes node
Left Toolbar > ![]() Project Nodes >
Project Nodes > ![]() Attributes
Attributes
The node
Procedure
To add common attributes to the node graph:
On the left toolbar choose Project Nodes
 > Attributes
Drag the Attributes icon into the Node Graph.

In the Attributes Panel click the Add Attribute button.
Define the name, type and properties of the new attribute.
Click OK.
The new attribute is added to the Attributes Panel and a new output with the name of the attribute is added to the node.
Outputs
attributes
The Attributes node outputs all its attributes directly.
This table shows how Attributes Values are converted to Node Values:
- The BOOLEAN attribute value is converted to a BOOLEAN node value.
- The NUMBER attribute value is converted to a NUMBER node value.
- The POINT attribute value is converted to a POINT node value.
- The FRAME attribute value is converted to a FRAME node value.
- The RGBO attribute value is converted to a RGBO node value.
- The STRING attribute value is converted to a STRING node value.
- The CHOICE attribute value is converted to a STRING node value.
Attributes Panel
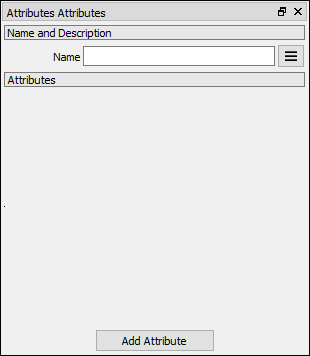
attributes The attributes panel displays all custom attributes.
Editing Attributes
Add Attributes
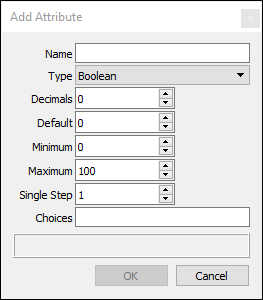
The Add Attribute button displays the Add Attributes window.
Name Name of the new attribute. The name of the new attribute must be unique across the project.
Type The type of the new attribute: Boolean, Number, Point, Frame, Rgbo, String and Choice.
Decimals For numeric attributes the number of decimals to display in the ui.
Minimum For numeric attributes the minimum value of the attribute.
Maximum For numeic attributes the maximum value of the attribute.
Single Step For numeric attributes the amount added or subtracted to the current value on a single click on a spinner button.
Choices A comma separated list of strings. e.g. one,two,three,four. Choice attributes are output as String attributes. Nodes that support Choice attributes receive as input a string value and translate it to the defined choice.