
Pixaflux
Sculpt Normal Map with the Distance Node
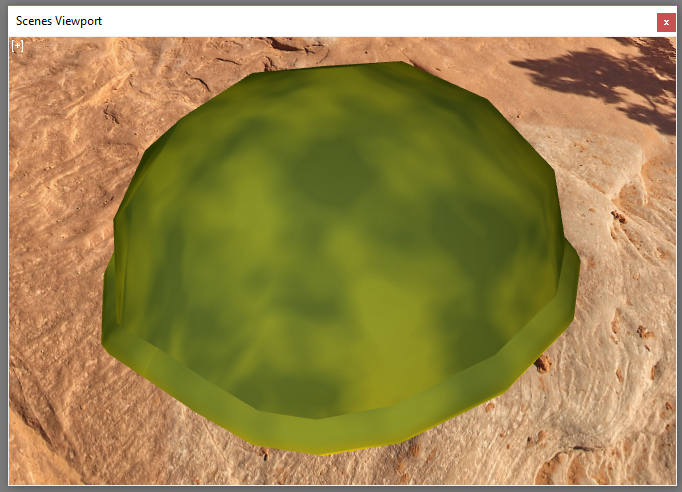
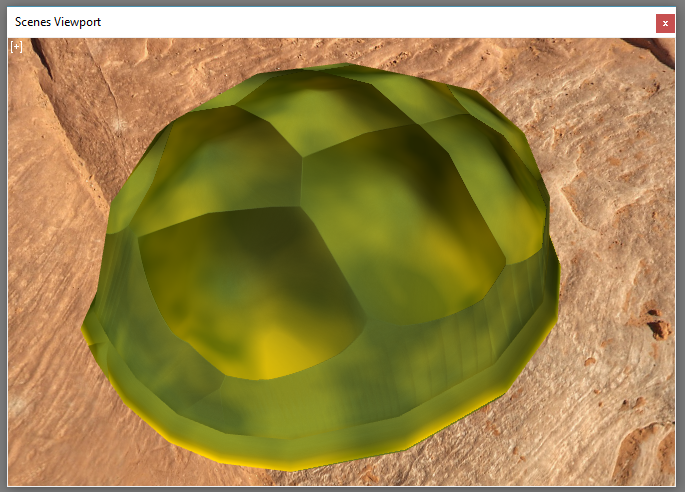
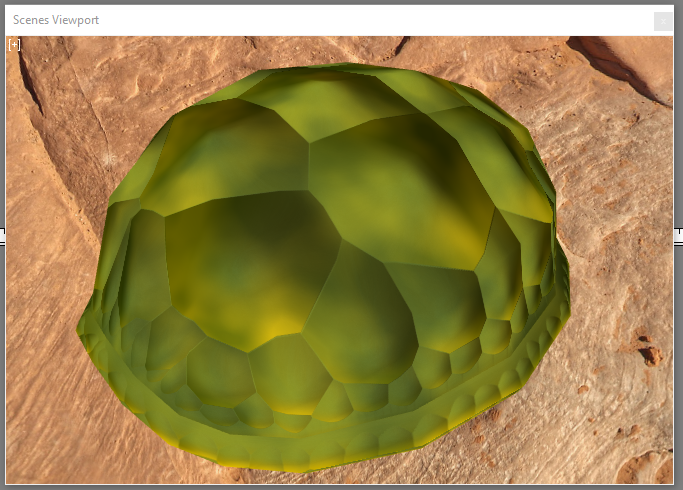
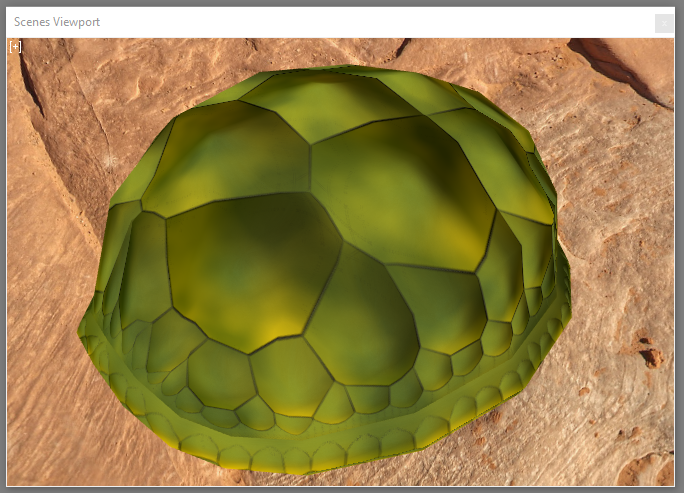
In this tutorial you will learn how to use the Distance node to create a bump map for this tortoise carapace.
Download the tutorial files TutorialTortoiseCarapace.7z and extract them in your PC.
Load the project carapace.pxf.
The UVs of this model have 3 islands:
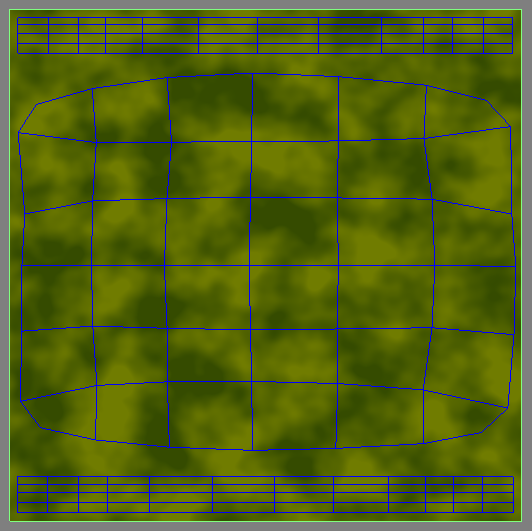
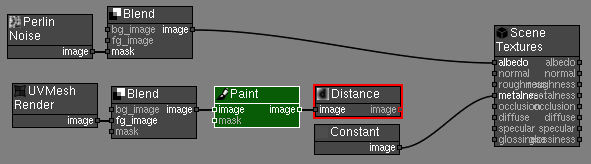
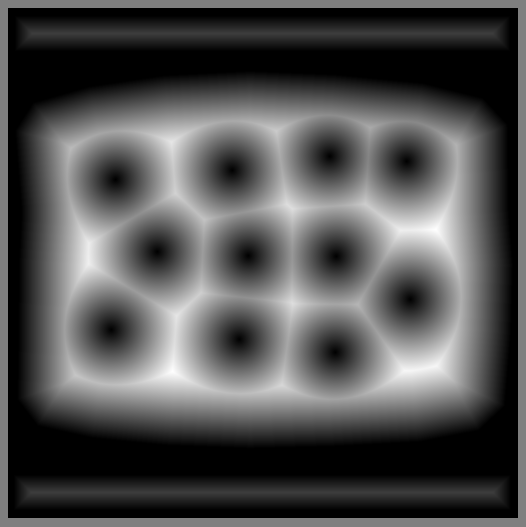
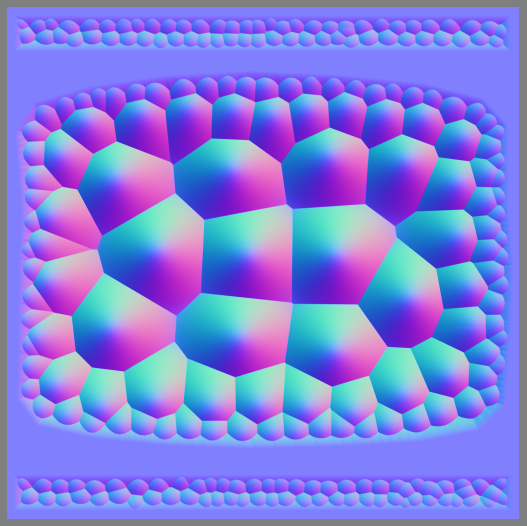
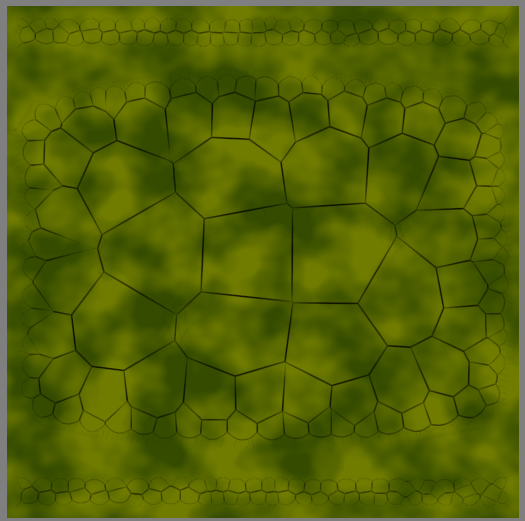
You'll use the Paint node to paint a few black seeds that will be used by the Distance node to compute the distance of each pixel to the closest black seed, producing a texture similar to a Voronoi diagram where each cell can be controlled by draw and erase tools in the Paint node.
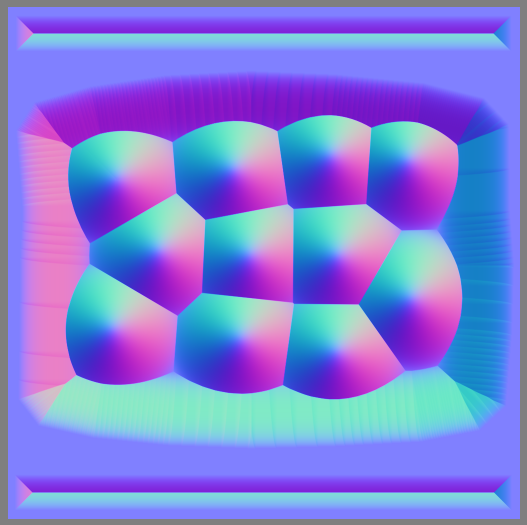
This Voronoi diagram texture will be rounded and smoothed using a Value Clamp node and converted to a Normal Map with the To Normal node.
The Background
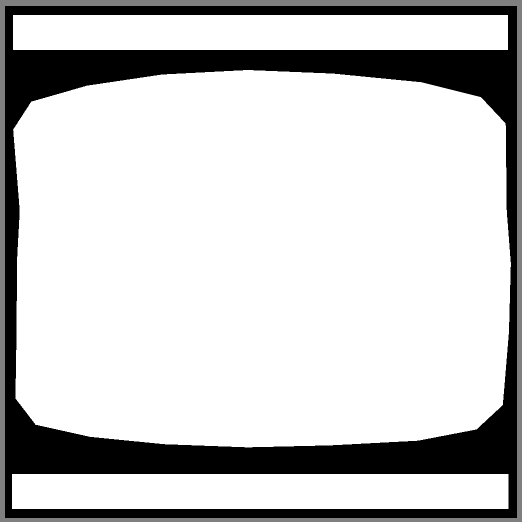
Create a UVMesh Render node


 . [?].
Set the size to 1024 x 1024.
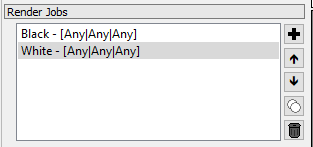
Set the color of the first render job to black.
Add a new Render Job using the [+] add button at the right of the Render Jobs list.
Set the color of the new Render Job to white and the Padding to 0.
Create a Blend node

 . [?].
Connect [UVMesh Render › image] to [fg_image › Blend]. [?].
. [?].
Connect [UVMesh Render › image] to [fg_image › Blend]. [?].Set the Background color to black and the opacity to 1.0.
Create a Paint node

 .
Connect [Blend › image] to [image › Paint].
.
Connect [Blend › image] to [image › Paint].Set the brush color size to 0 and the brush color to black.
Everything is now ready to start sculpting the normal map.
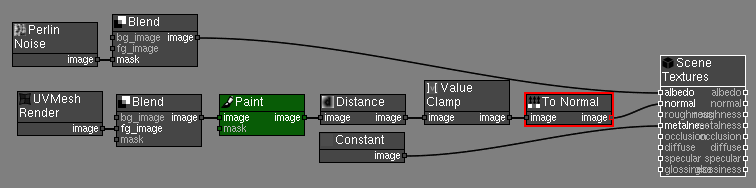
Sculpt the Normal Map
Create a Distance node

 .
Connect [Paint › image] to [image › Distance].
.
Connect [Paint › image] to [image › Distance].Set the Paint node as the Active node and the Distance node as the Display node.
Start painting black points in the carapace. Since the Paint node is the Active node you won't see the black points. Instead, you'll see the effect this points have on the final distance image.
Tip: Use the UV mesh if needed as a reference.
Create a Value Clamp node
 .
Connect [Distance › image] to [image › Value Clamp].
.
Connect [Distance › image] to [image › Value Clamp].Set the Max value in the Value Clamp node to 150.
Create a To Normal node

 .
Connect [Value Clamp › image] to [image › To Normal].
.
Connect [Value Clamp › image] to [image › To Normal].Set the To Normal source to Height and multiply to -1.0.
Connect [To Normal › image] to [normal › Scene Texture].
Set the Paint node as the Active node and the To Normal node as the Display node.
Paint more points closer to the rim to add more bumps in that region.
Paint points in the rim strips to add bumps to the rim.
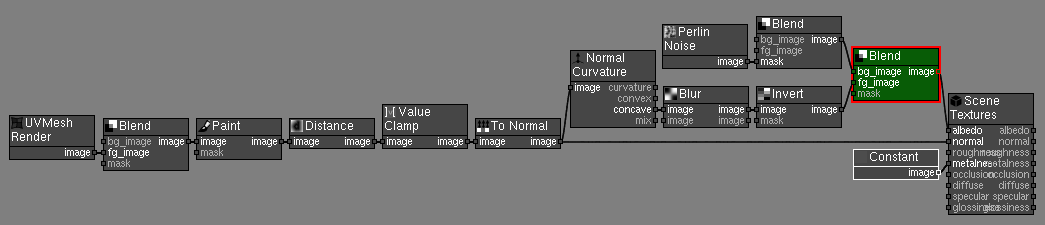
Curvature Detail
Now you'll use the Normal Curvature node to add a dark rim around each bump.
Create a Normal Curvature node
 .
Connect [To Normal › image] to [image › Normal Curvature].
.
Connect [To Normal › image] to [image › Normal Curvature].Set the radius to 3.0.
Create a Blur node

 .
Connect [Normal Curvature › concave] to [image › Blur].
.
Connect [Normal Curvature › concave] to [image › Blur].Set the blur radius x and y to 10.0.
Create an Invert node

 .
Connect [Blur › image] to [image › Invert].
.
Connect [Blur › image] to [image › Invert].Create an Blend node
.
Connect [Invert › image] to [fg_image › Blend].Connect the carapace green perlin noise to the new Blend node. Connect [Blend › image] to [bg_image › Blend].
Set the blend mode to multiply.
Conclusion
In this tutorial you learned how to use the Distance node to generate a Voronoi like diagram that can be painted with and sculpted into a normal map using the Clamp and To Normal nodes.